Dawn Apart Automation & Factory Lines
Turn Magpie hand-hauling into drills, belts, furnaces, and spaceport-ready logistics on Sirius B3.
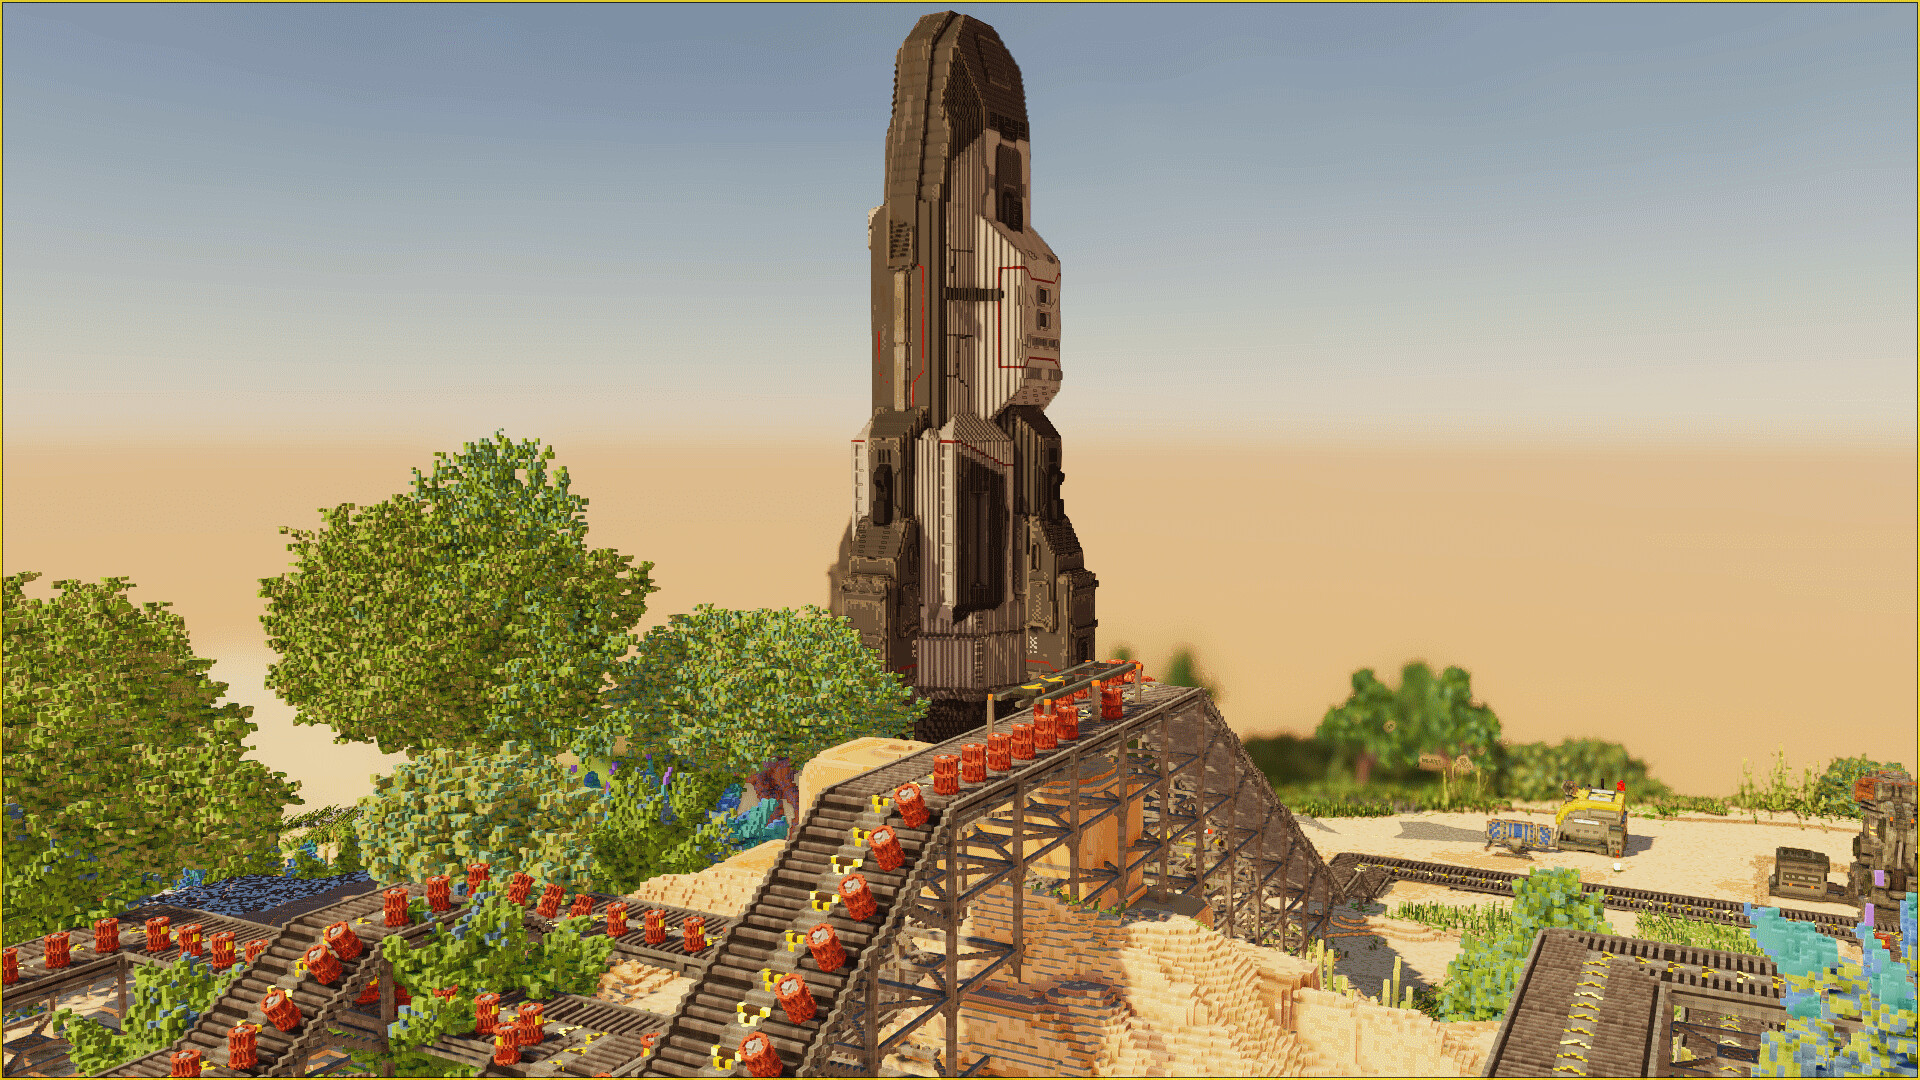
Automation is where Dawn Apart shifts from survival camping to a true colony factory. On the voxel world of Sirius B3, every drill head, conveyor segment, furnace, and Recycler sits on terrain you can reshape with picks or C4. That freedom lets you carve perfect ore highways — or bury your only belt under a collapse you caused. This guide focuses on practical factory design for copper, iron, coal, granite, quartz, organic matter, and eventually Lucrum 115, ending with a clear 3×3 spaceport pad for trade missions.
If you are still hand-feeding furnaces, finish Getting Started first. Power and Soylent capacity decide how wide your belts can run — keep Power & Food Grid open while you expand. Defense of the factory perimeter is covered in Defense & Night Raids. Lucrum-specific routing lives in Mining Lucrum 115.
Factory design principles
- Short belts beat clever belts — Early conveyors should move ore from a drill cluster to one furnace bay beside the Magpie. Long scenic routes waste iron plates and create more raid exposure.
- One product, one spine — Dedicate a mainline to raw ore and a parallel or return path for plates/ingots. Mixing random junk on a single belt without splitters teaches nothing except jams.
- Leave service alleys — Walkways beside belts let you repair, upgrade, and place utility poles without dismantling production.
- Plan the spaceport footprint early — A level 3×3 pad needs flat, clear voxels. Do not dig a quarry under your future landing zone.
- Power before parallel drills — Each new drill and furnace increases draw. Accumulators and steam cover nights; solar alone fails Hotdry evenings. See the power guide.
Drills and voxel mining
Fully destructible terrain means drills are both miners and landscaping tools. Place drills on rich faces of copper, iron, coal, or later Lucrum, then belt output toward storage. Prefer staggered drill depths so you do not undercut supports holding your conveyor gallery. When a face is exhausted, relocate the drill — do not snake a belt across half the map for one last node.
C4 terraforming shines when granite or awkward cliffs block a clean belt grade. Blast a corridor, flatten a pad, then rebuild. Overusing C4 near occupied rooms risks venting temperature/light/air envelopes you already balanced. Blast outside sealed wings, then extend walls intentionally.
Furnaces, plates, and the Recycler
Furnaces turn raw ore into usable metals. Feed them steadily: a starving furnace is wasted power; an overflowing input chest without outflow is a future jam. Buffer chests between belts and machines absorb temporary imbalances.
The Recycler reclaims materials from scrap and obsolete builds. Route recycler output back into the main storage spine instead of creating a third orphan warehouse. When you tear down early spaghetti, recycle aggressively — Sirius B3 is generous with rock but not with your time.
Conveyor patterns that scale
- Bus lite — A short multi-lane bus beside Magpie carrying copper, iron, coal, and a junk lane. Branch with splitters into furnace and craft benches.
- Cell factories — Compact cells (drill → belt → furnace → plate chest) repeated as modules. Easy to defend; easy to power-budget.
- Vertical shafts — Use dug shafts with careful supports when surface routes are raid-exposed. Light them; dark shafts become It’ak surprises.
Avoid full mega-bus cosplay until you understand recipe ratios. Dawn Apart rewards readable factories more than screenshot-perfect spaghetti.
Spaceport and trade missions
Clear a 3×3 level pad with approach room for hauling Lucrum crates and trade goods. Connect the pad to storage with a dedicated belt or short hauling path so last-minute packing does not steal your ore mainline. Trade missions and corporate shipments are why the factory exists — Mining Lucrum covers quota mindset; Corp vs Rebel covers how allegiance changes which missions matter.
Keep the pad lit and inside your defensive envelope. A spaceport outside the wall is a gift to night raiders.
Integrating defense and rooms
Factory wings still obey room rules: temperature, light, and air. Belt tunnels that double as hallways need lights. Do not open a conveyor trench that bypasses your only chokepoint — that trench becomes a raid route. Coordinate with defense whenever you cut a new exterior door for “temporary” construction traffic.
Upgrade path
- Hand-feed furnace beside Magpie.
- One drill + short belt + chest buffer.
- Dual ore lines (copper/iron) into shared furnace bay.
- Coal line for steam and smelting fuel needs.
- Recycler loop for rebuilds.
- Flatten 3×3 spaceport; add Lucrum spur.
- Parallel cells once power and Soylent headroom exist.
Machine priority opinions also appear on the tier list. Patch changes that alter recipes or buildings show up under updates and Final Frontier. Confirm hotkeys in controls before you attempt high-speed blueprint-style rebuilds.
Bottleneck checklist
- Belts full but furnaces idle → output blocked or wrong item on the line.
- Furnaces full, drills idle → power brownout or drill face exhausted.
- Everything slow at night → accumulator/steam gap; fix power before adding machines.
- Colonists hungry mid-expansion → Soylent Maker starved of organic matter.
- Raids entering through the quarry → you dug a bypass; seal or fortify it.
Automate in layers. Each stable layer — power, food, ore, defense — unlocks a wider factory without resetting your colony. When belts hum through the night and the spaceport pad stays clear, you are ready to specialize Lucrum throughput and story path choices.
Frequently Asked Questions
Quick answers for Sirius B3 prospectors.
How big is the Dawn Apart spaceport pad?
Plan a level 3×3 clear footprint with approach space. Flatten with careful digging or C4 before you commit belts to the pad.
Should I build a huge main bus immediately?
No. Start with short spines and modular cells. Expand the bus only after power, Soylent, and raid defense are stable.
What does the Recycler do?
It reclaims materials from scrap and torn-down builds. Feed output back into your main storage spine instead of a separate junk silo.
When should I use C4?
For terraforming awkward cliffs, belt grades, and pads. Avoid blasting beside sealed rooms you already balanced for air and temperature.