Dawn Apart Mining Lucrum 115
Locate veins, dig safe routes, process ore, and ship Kobayashi-Schwarz quotas through your spaceport.
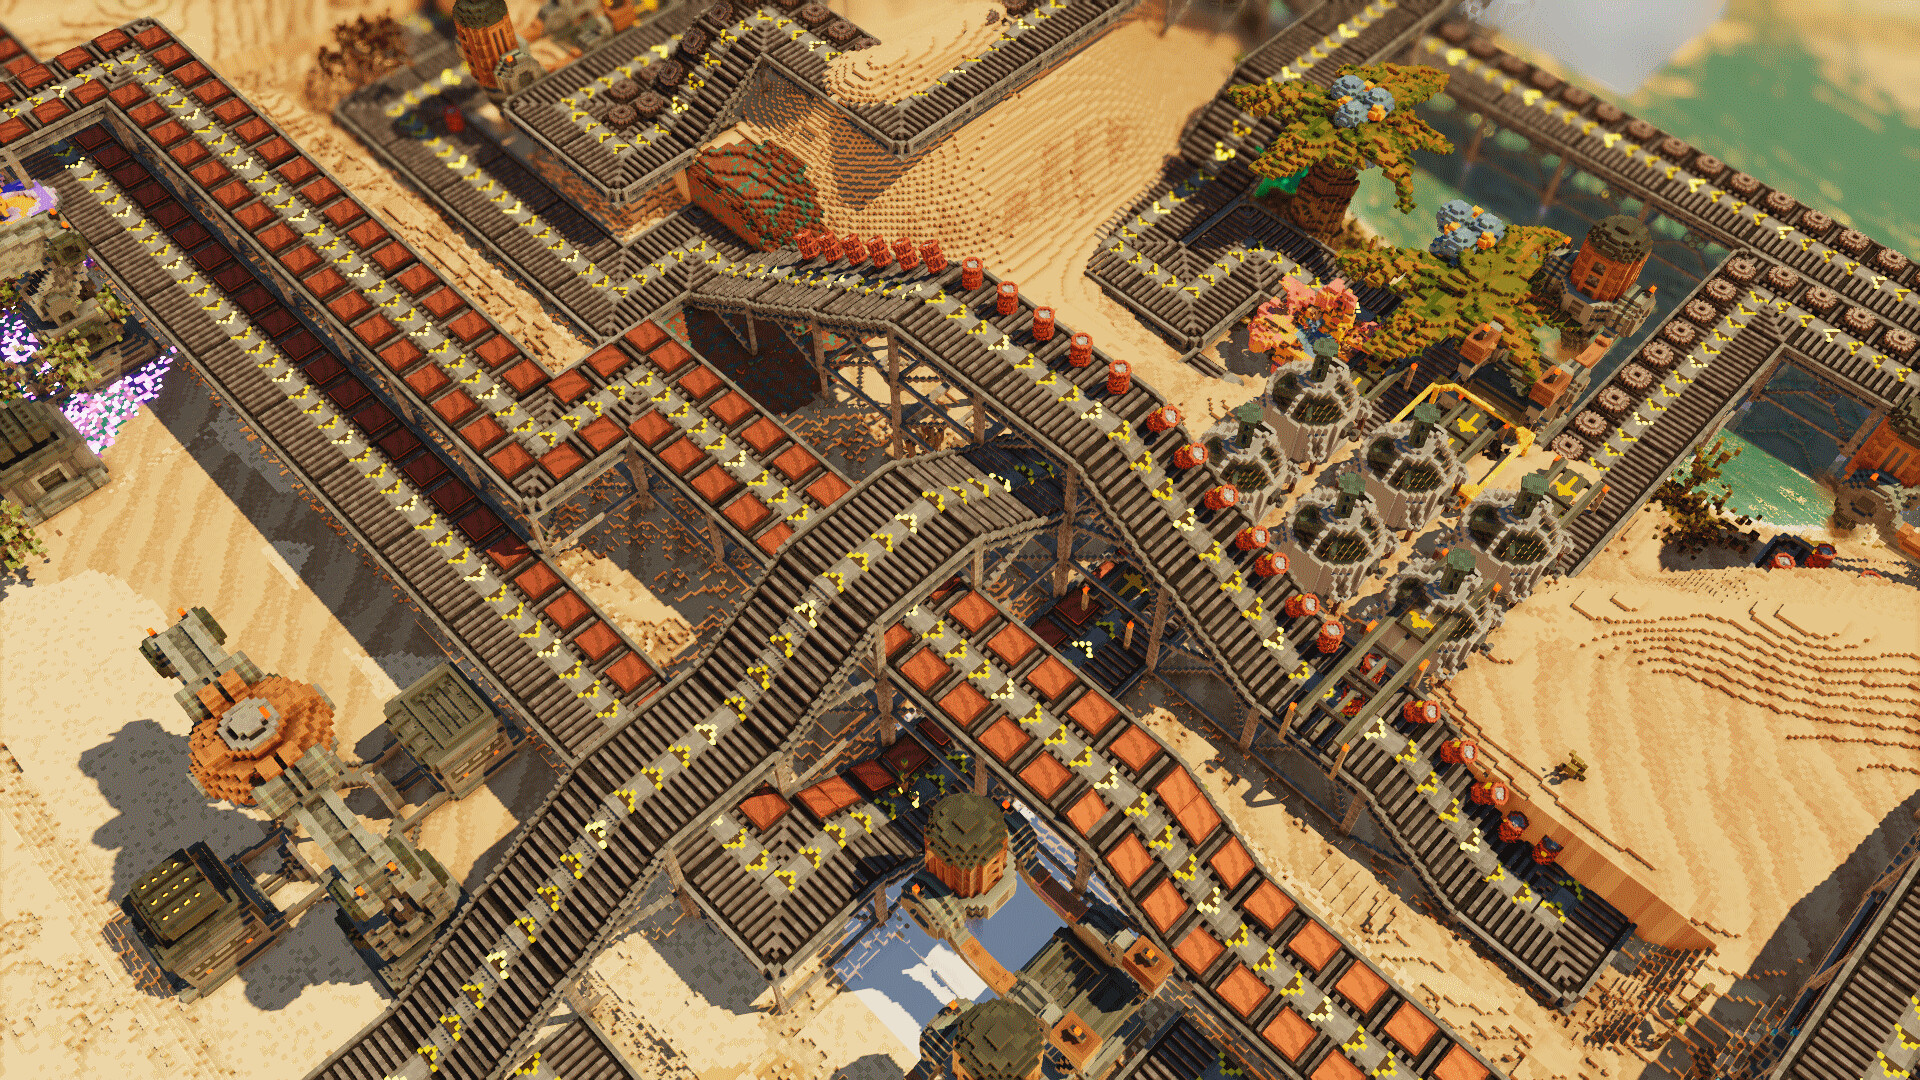
Lucrum 115 is the reason Kobayashi-Schwarz planted you on Sirius B3. Copper and iron keep the Magpie alive; Lucrum pays the corporate bill and fuels trade missions through your spaceport. This guide covers finding veins in the destructible voxel crust, digging without collapsing your own logistics, processing throughput, Recycler interplay, C4 use, and packing shipments — while staying alive through It’ak nights.
Do not start deep Lucrum pushes until Getting Started and Power & Food Grid are stable. Route ore with patterns from Automation & Factory. Harden approaches with Defense & Night Raids. How hard you lean into corporate quotas versus Rebel alternatives is covered in Corp vs Rebel.
What Lucrum 115 is for
Lucrum is the premium extraction target for the Kobayashi-Schwarz Corporation. Quotas and trade missions expect steady output once your colony graduates from pure survival. Treat Lucrum as a scheduled product, not a side hobby: dedicated drills, dedicated belt spur, dedicated storage near the pad, and power budget reserved for the line.
Other resources still matter:
- Copper / iron — machines and structures.
- Coal / coke / wood — steam and smelting support.
- Granite / quartz — construction and specialty needs.
- Organic matter — Soylent, without which miners do not work.
Scouting and first cuts
Explore outward from the Magpie in lit, powered increments. Mark Lucrum faces before you commit a mega-shaft. Prefer routes that can host a conveyor spine back to processing without crossing your only defensive chokepoint unprotected.
Early Lucrum can be hand-carried in tiny amounts to learn processing recipes, but scale demands drills. Place drills on the face, buffer into chests, then belt toward furnaces or Lucrum-specific processors as your tech allows. Keep a service alley for repairs — Lucrum lines tend to run far from the hull.
Terraforming with C4 and careful voxels
C4 opens stubborn granite and reshapes grades for belts heading to the 3×3 spaceport pad. Best practices:
- Blast outside sealed colony rooms.
- Flatten pad approaches before the shipment deadline panic.
- After each blast, inspect for new raid entries into Magpie.
- Support roofs in deep galleries; fully destructible sandboxes punish greed.
If a tunnel undercuts your furnace bay, you did not “save time” — you scheduled a rebuild.
Processing, storage, and the Recycler
Feed Lucrum through a clean chain: drill → belt → buffer → process → finished goods chest → spaceport packing lane. Do not dump Lucrum onto the same belt as random construction junk without splitters.
The Recycler helps when you relocate drills or tear down failed shafts. Recycled plates rebuild the next gallery faster than restarting from surface copper alone. Keep recycler output on a path that can refill construction chests near the dig site.
Power and food tax of Lucrum
Deep lit shafts plus multiple drills are accumulator killers. Expand steam and solar before you double Lucrum miners. Stock Soylent for long dig shifts and raid lockdowns. Review power and food whenever Lucrum expansion coincides with brownouts.
Spaceport packing and trade missions
Maintain a level 3×3 pad with a short hauling path from Lucrum finished storage. Packing for trade missions should not require crossing unlit quarries at night. Light the pad, gate the approach, and keep a buffer of packed goods so a single raid delay does not miss a window.
Corporate pressure wants volume. Efficient colonies ship medium steady stacks forever rather than one heroic crate after a blackout.
Defense around Lucrum spurs
Lucrum galleries are long, dark, and tempting. Either:
- Fortify the spur as a branch with its own gate, or
- Accept the spur as expendable and ensure it cannot path into the Magpie core.
Never let a Lucrum belt trench become a free It’ak highway. Details in defense.
Quota mindset vs Rebel lean
Staying aligned with Kobayashi-Schwarz means Lucrum throughput stays central. Exploring the It’ak alliance / Rebel path can reweight missions and narrative goals — but physical mining skills still transfer. Read Corp vs Rebel before you abandon corporate infrastructure you still need for power and food.
Practical Lucrum checklist
- Stable core power + Soylent.
- Scouted vein with a defendable route.
- Drill + buffer + dedicated belt spur.
- Processing capacity matched to drill output.
- Storage beside spaceport, not across the map.
- Lights and gates on the spur.
- C4 used for pad/grade fixes, then resealed.
- Accumulators upgraded before the next parallel drill.
For unlock order opinions see the tier list. Patch notes that change yields or buildings appear under updates and Final Frontier. Movement and build hotkeys: controls. Large digs with debris and lighting: system requirements.
Ship Lucrum because the grid can spare the watts — not because the corporation shouted louder. When crates move from face to pad without a single night collapse, Sirius B3 finally feels like your factory world instead of your prison detail.
Frequently Asked Questions
Quick answers for Sirius B3 prospectors.
Should Lucrum share belts with copper and iron?
Use a dedicated spur or carefully splittered lanes. Mixing Lucrum into junk construction belts causes jams and missed shipment windows.
When do I start serious Lucrum mining?
After power, Soylent, basic ore, and a night-two-ready chokepoint exist. Scout early; industrialize Lucrum second.
How does C4 help Lucrum routes?
It clears stubborn rock and flattens grades toward processing and the 3×3 spaceport pad. Always reseal raid paths afterward.
Why is my Lucrum line dying at night?
Usually power. Deep lights plus drills exhaust accumulators. Add steam capacity or shed drills during raids.