Dawn Apart Early-Game Machine Priority (S–B)
What to craft and place before quotas and It'ak nights overwhelm you.
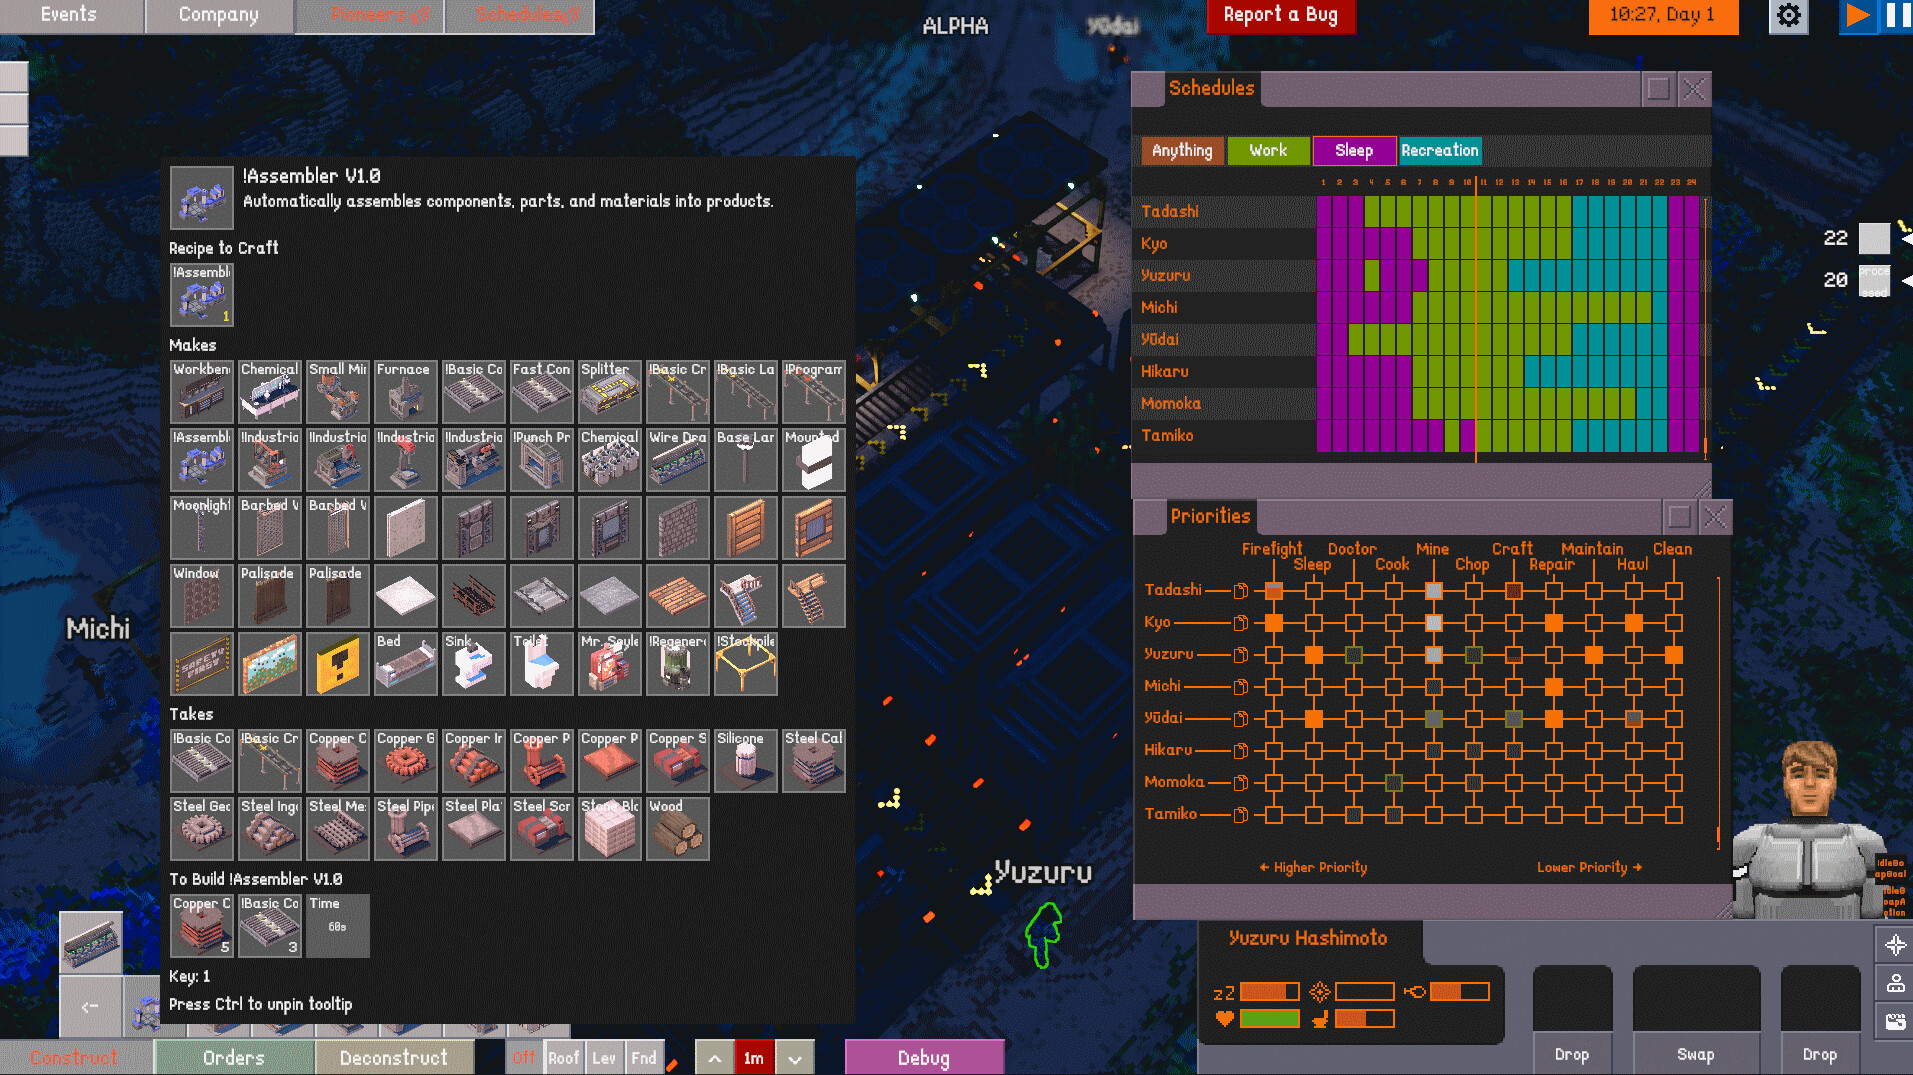
Your first week on Sirius B3 decides whether Kobayashi-Schwarz keeps funding the Magpie crew or starts sending angry memos. This tier list ranks machines and core builds for the landing stretch through the first stable conveyor loop. Pair it with Getting Started, then deepen production with automation and Lucrum mining.
Rankings assume Final Frontier 1.0 rules: machines need power beyond Magpie proximity, Soylent must be manufactured, and seasons last five days. If you are replaying an older save, expect broken trades and missing power icons until you rebuild the grid.
S-tier — build these first
Level 3×3 spaceport pad
Not a machine, but the whole economy fails without it. Trades disable if the pad is not perfectly level. Use a Level order, bump mining priority if colonists ignore the job, and keep a clear approach. Haul Lucrum and contract goods onto the pad before the deadline. Details live in Getting Started and spaceport tips.
Lucrum miner on a real deposit
Place the Magpie-stocked Lucrum miner flush on Lucrum 115. Misalignment wastes red solvent. Face the output toward your first stockpile or future belt. Quotas punish late deliveries harder than almost any other early mistake.
Mr. Soylent + Soylent Maker path
Prospectors eat from day one. After Final Frontier, Mr. Soylent no longer invents food — stock it with Soylent from a powered Soylent Maker fed by Organic Matter. Issue Gather orders on bushes, and know that bodies can be turned to Soylent in a pinch. Traders also sell food deals; use them when Gather routes are thin. See power and food grid.
Steam Engine, Utility Poles, Power Outlets
New colonies start with a Steam Engine and poles for a reason. Poles auto-link and show cables. Mount Power Outlets on room walls in range of a connected pole so heaters, lights, miners, and electric machines wake up. Magpie power only covers the immediate landing bubble.
Basic walls / palisades before night two
Violent Frontier enabled It’ak raids by default starting the second night. A short palisade line and a draftable crew beat a prettier second floor. Full fort ranking is on the defense priority page.
A-tier — strong next unlocks
Industrial cutter and plate production
Copper and steel plates unlock better structures and progression crafts. Prioritize the cutter once ore and furnace throughput exist. Trade contracts often pay in belts or cutters — accept those when they accelerate this chain.
Furnaces (fuel, then Electric Furnace)
Smelting feeds everything. Classic furnaces bridge the gap; the Electric Furnace is excellent once the grid is stable. Do not place electric smelting on a brownout-prone network.
Stockpiles with clear allow-lists
Dedicated Lucrum, solvent, plate, and food stockpiles cut haul chaos. Forbid junk in the Lucrum pile so spaceport hauls stay clean.
First conveyor belts and feeders
Hand hauling dies as soon as two miners and a furnace run. Short belts from miner → stockpile → spaceport or smelter are A-tier the moment you have enough belt items. Splitters come next when a line must fork. Deep layouts: automation factory.
Accumulators and Solar Panels
Solar shines in Hotdry stretches; accumulators carry night load and raid blackouts. Rank them A once the Steam Engine alone cannot cover Electric Furnace + Soylent Maker + lights + climate control.
Beds, bathrooms, and a sealed living room
Loyalty tanks when people sleep in the rain or roast without cooling. A simple enclosed dorm with temperature control is A-tier for long-run labor. See loyalty and needs.
B-tier — useful, but wait
Recycler
Trade Boom’s Recycler returns about half the ingredients from crafted junk. Great for cleaning failed experiments; not worth delaying Lucrum or the pad. Needs power and recipe-bearing scrap.
Chemical lab / solvent expansion
Critical for sustained Lucrum dissolution, but second to getting the first miner online with starter solvent.
Extra spaceports
One reliable pad beats two crooked ones. Expand ports when dynamic trades and faction deals overlap.
Fancy multi-floor showpieces
Vertical factories are the fantasy. Build them after raids, food, and quotas are boringly stable.
C4 terraforming spam
C4 (three sizes, adjustable depth) is fantastic for carving belt trenches and flattening hills, but early charges are better spent on a critical Level/cut than on landscaping art. Keep a few for stuck geometry; do not empty the magazine on day three.
Suggested first-week order
- F2 roof-off view, scout Lucrum, Level the 3×3 pad.
- Place Lucrum miner correctly; start solvent-aware mining.
- Food: Gather organic matter → Soylent Maker → Mr. Soylent, with Magpie/Steam power.
- Short palisade + draft plan before night two.
- Furnace + cutter loop for plates and structure mats.
- Poles/outlets for any electric buildings; add solar/accumulators as load grows.
- Belts from miner and smelter; formalize stockpile rules.
- Revisit defense priority and Corp vs Rebel once the factory hums.
Common early traps
- Miner off-deposit — solvent gone, quota failed.
- Electric machines with no poles — silent production death.
- Pretty barracks, zero walls — It’ak walk off with Lucrum.
- Ignoring Gather — Soylent Maker idles, loyalty crashes.
- Unlevel spaceport — trades look accepted then fail on landing.
When in doubt, ask: does this blueprint raise Lucrum per day, calories per day, or raid survivability this week? If not, it is B or lower.
Frequently Asked Questions
Quick answers for Sirius B3 prospectors.
What is the single highest-priority machine on landing day?
The Lucrum miner placed correctly on ore, tied to a level spaceport plan. Food and a Steam/pole starter grid are equal peers within the first day or two.
Should I rush conveyors before walls?
Get a minimal palisade before night two. Short belts can wait a night if raids are already chewing stockpiles; long belts can wait until the pad and miner work.
Is the Electric Furnace S-tier?
A-tier once power is reliable. On a brownout grid it is a trap — keep a fuel furnace until Accumulators or extra generation exist.
Where does Soylent Maker sit if traders sell food?
Still S/A. Trader food is a buffer, not a plan. Gather + Soylent Maker keeps you independent when ships are late or seasons stretch.
How does this list change for Rebel runs?
Early S-tier stays the same — dead colonies do not rebel. Mid-game you may deprioritize Corp-favoring luxury and invest more in defense and self-sufficient food/power. See Corp vs Rebel.