Dawn Apart Fortifications & Combat Gear Priority
Stop Lucrum theft and keep prospectors alive through Violent Frontier nights.
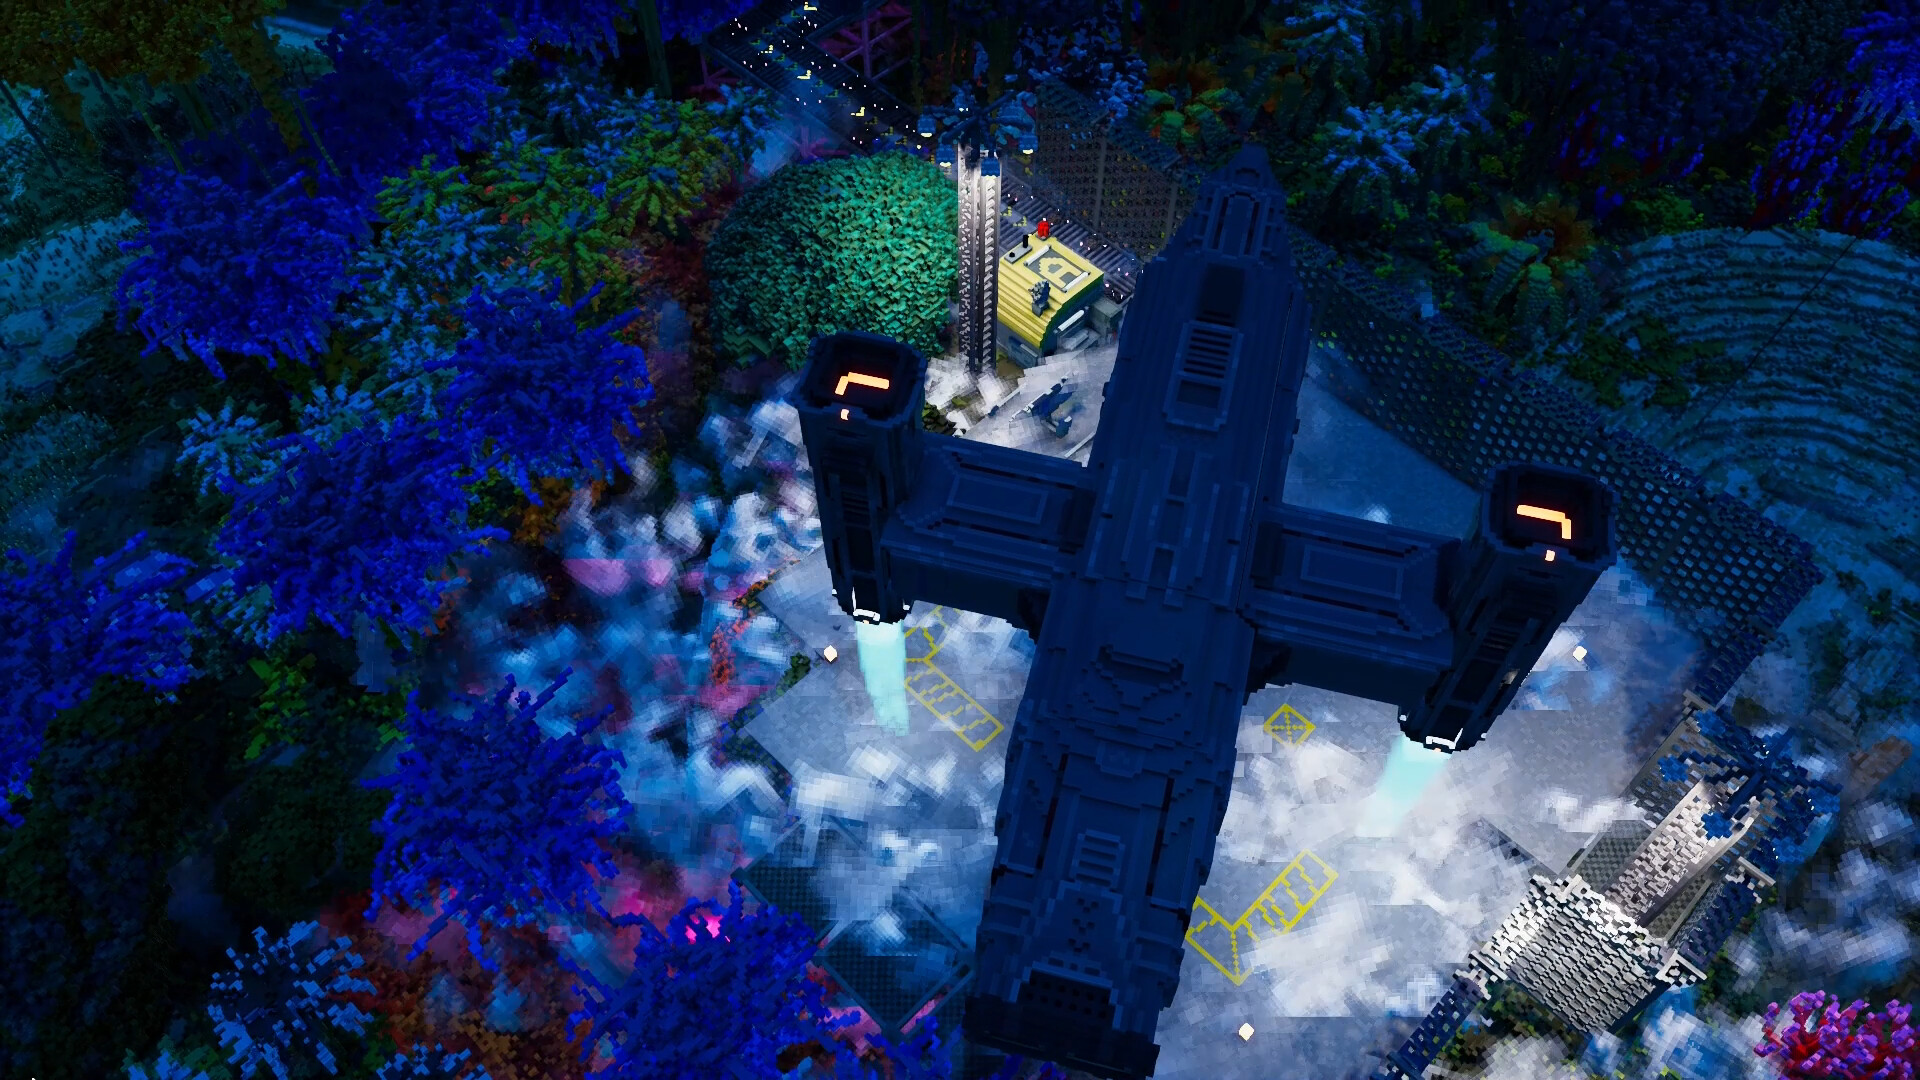
It’ak do not care about your perfect belt balancer. From the Violent Frontier update onward, native raids pressure the compound for Lucrum, and Final Frontier refined the fight with cover mechanics, tougher palisades, smarter targeting, and a HUD wave-direction indicator. This list ranks what to build and draft so the factory in the early builds tier list still stands at dawn. Deep tactics live in defense and raids.
Threat model (post-1.0)
- First wave can appear on night two; later nights are not guaranteed every evening but escalate toward a cap.
- Raiders prioritize stealing Lucrum and will move slower while carrying loot — intercept paths matter.
- Units behind sandbags or half-height walls can shoot over cover while shots into the wall are blocked.
- Palisades received large HP buffs (up to about 3×) — wood walls are no longer paper.
- Auto-targeting respects line of fire; finish bursts before wasting shots on briefly blocked targets.
Build for chokepoints and stockpile denial, not a continuous castle on day three.
S-tier defenses
Level, clear fields of fire
Flatten approaches with Level orders or careful C4 so raiders cannot hide in voxel clutter. Open lanes in front of walls beat ornate mazes that break pathing and friendly LOS.
Palisades on the Lucrum axis
Ring or half-ring the miner, Lucrum stockpile, and spaceport approach. Final Frontier’s HP buff makes early wood/palisade investment actually hold. Repair after every fight — structural integrity matters once walls take real HP damage.
Sandbags and half-height cover
Cheapest force multiplier in the game. Park drafted shooters directly behind cover so they retain outgoing fire while incoming rounds eat the barrier. Mix full palisades (block movement) with sandbag firing steps.
Drafted prospectors with guns ready
Enlisted agents show draft state in the UI. Practice a night alarm habit: pause, draft, assign cover tiles facing the wave indicator. One organized volley outperforms scattered workers still hauling plates.
Alarm and wave-direction HUD discipline
Treat the direction pip as gospel. Pre-position on the threatened face instead of spreading thin on all four walls.
A-tier defenses
Turrets covering belts and pad
Automated guns shine when powered and supplied. Place them to crossfire chokepoints, not deep inside dead zones. Turrets without a maintained grid (see power and food) are sculptures.
Layered gates / door control
Funnel thieves through a kill box with doors you can lock during waves. Keep emergency exits for colonists so pathing does not trap your own crew in the fire lane.
Redundant Lucrum storage behind the wall
Split Lucrum: a small export pile near the spaceport and a deeper vault. Raiders that breach the outer ring should not find the entire quota.
Medical / rest buffer after fights
Injured, exhausted, soaked colonists tank loyalty. Schedule downtime and heated/cooled rooms after raids — loyalty needs explains the modifiers.
Lighting on the perimeter
Night fights without lights punish accuracy and mood. Powered lamps on the wall line are A-tier once poles exist.
B-tier and later
Deep multi-layer megaforts
Impressive, expensive, and slow. Expand layers after the factory prints plates and ammo without babysitting.
Exotic weapons before ammo logistics
A fancy gun with empty stockpiles loses to a rifle behind sandbags. Unlock order should follow supply.
Offensive sorties into the fog
Hunting It’ak across open voxel terrain is optional content. Secure the pad first; revenge raids are B-tier until surplus manpower exists.
Decorative battlements
If it does not add HP, cover, or LOS, it waits.
Gear and colonist priority
- Any working firearm + draft beats unarmed heroics.
- Cover furniture (sandbags/half walls) before cosmetic armor flexes.
- Ammo and gun stockpiles inside the safe zone.
- One dedicated night watch rotation so the whole roster is not exhausted every dawn.
- Repair materials staged near walls — fights damage structure, and holes invite the next wave.
Passions and loyalty still matter: colonists who hate combat but love crafting should stay on the factory line while willing shooters take the wall. Rebel-leaning colonies may accept higher raid pressure for ideology reasons — plan thicker walls earlier if you poke the Corp path in Corp vs Rebel.
Example night-two setup
- Short palisade facing the scouted approach, sandbags one tile behind.
- Lucrum miner and primary stockpile inside the arc.
- Steam Engine / poles powering at least one turret and perimeter lights.
- Two or three drafted shooters pre-assigned to cover tiles.
- Spaceport pad kept clear so morning trades are not blocked by corpses and rubble (recycle bodies to Soylent if you must).
Mistakes that lose colonies
- Building the second factory floor before any wall.
- Storing all Lucrum in an open pile beside the miner.
- Forgetting power so turrets and lights die mid-wave.
- Drafting everyone, every night, until loyalty collapses.
- Ignoring the wave-direction indicator and fighting on the wrong face.
Revisit this list after each major combat patch, and cross-check the Updates hub when IT&W retunes raid cadence. Survival is a build order problem as much as an aim problem.
Frequently Asked Questions
Quick answers for Sirius B3 prospectors.
When do It'ak raids start?
Under Violent Frontier defaults, expect pressure from the second night. Later balance made waves night-focused, not strictly every night, with gradual escalation.
Are palisades worth it after the Final Frontier buff?
Yes. Higher HP makes early walls meaningful. Combine them with sandbag firing positions instead of relying on open-field gunfights.
Should turrets outrank sandbags?
No. Cover and drafted shooters are cheaper and work during brownouts. Add turrets once power and ammo are stable.
How do I stop Lucrum theft specifically?
Wall the stockpile, keep shooters on the approach, and punish carriers — they move slower with loot. Split storage so one breach cannot empty the quota.
Does weather change defense priority?
Rain and temperature hit loyalty and accuracy more than wall HP. Keep fighters dry and climate-controlled between waves so the next draft still shows up.