Dawn Apart Colonist & Prospector Management
Keep Magpie crews loyal, fed, and working through seasons and raids.
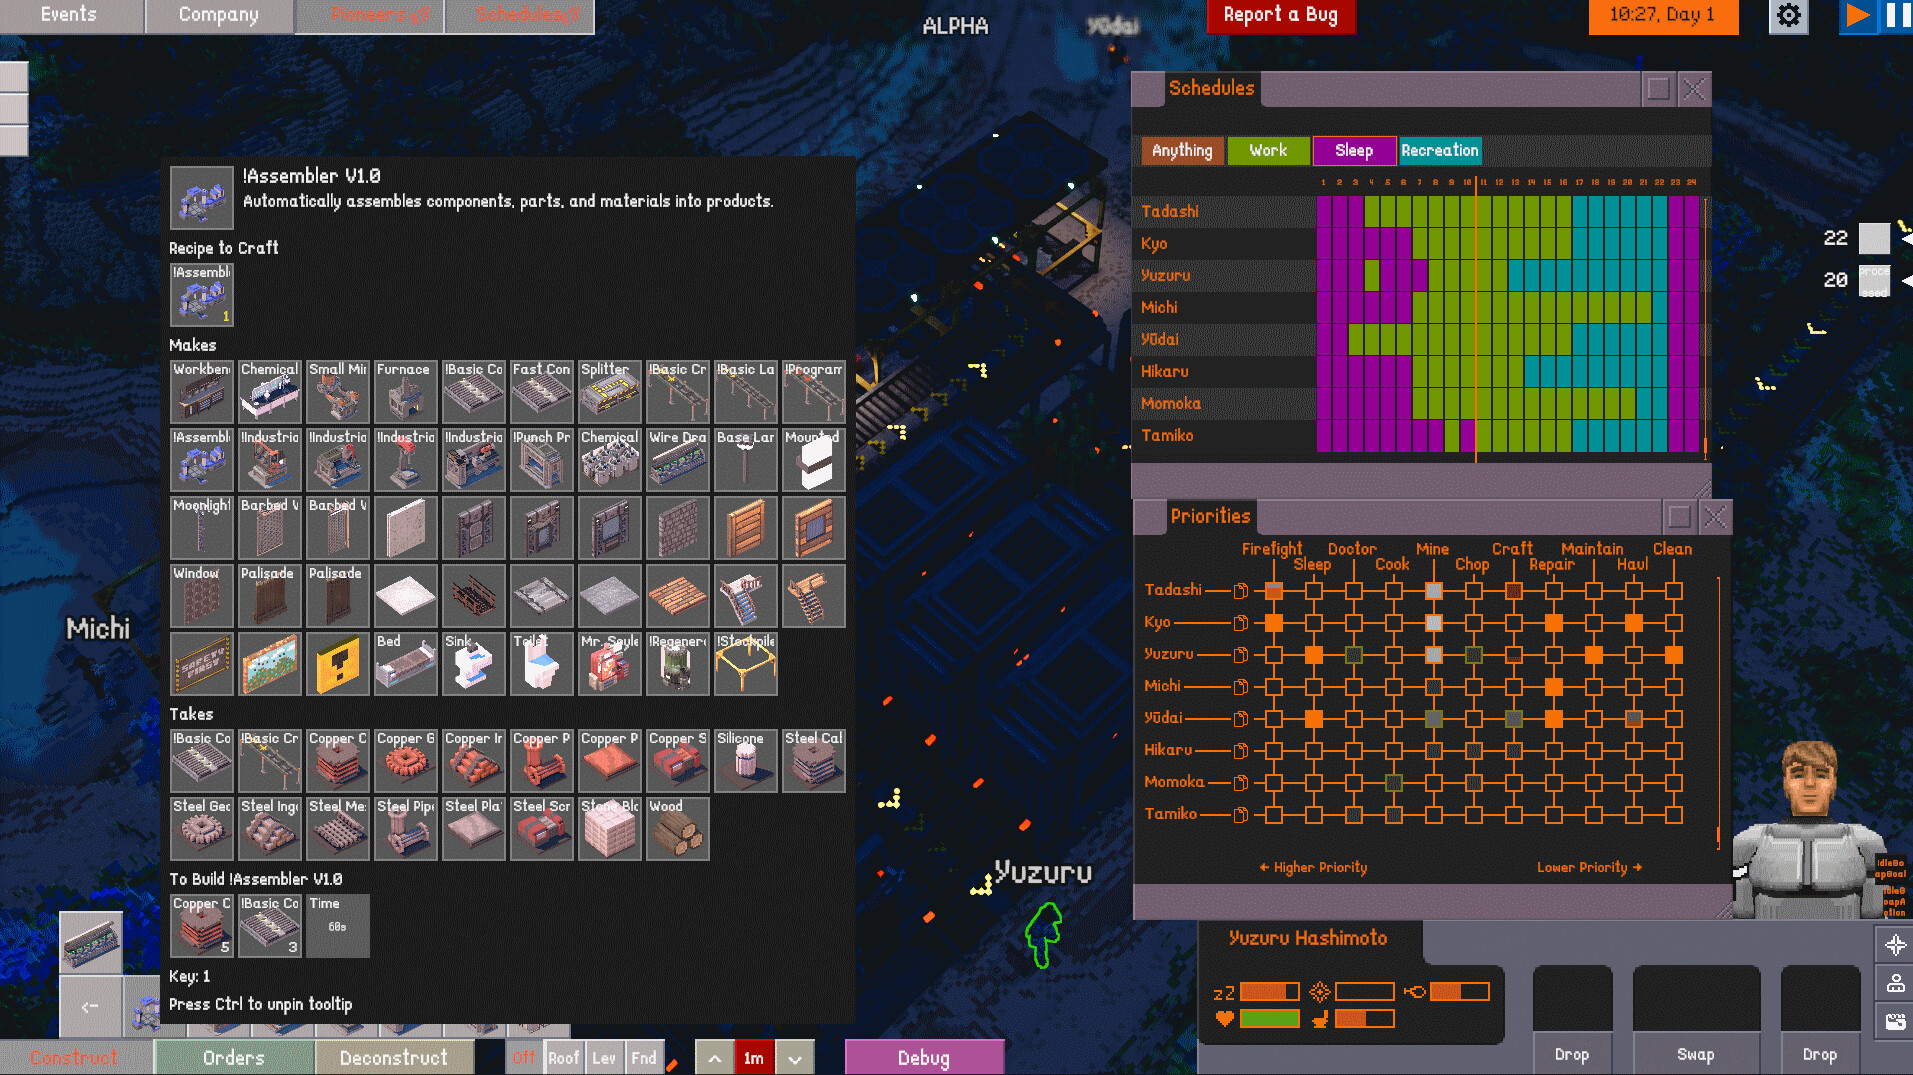
Dawn Apart is as much a people problem as a belt problem. Prospectors mine Lucrum 115, haul plates, man sandbags when the It’ak come, and quietly quit on you when rooms bake, food runs out, or every night ends in another draft. This hub covers colonist management: loyalty, temperature, rooms, schedules, and how to assign labor without torching morale. Start newcomers on Getting Started, then use the deep dive on loyalty and needs.
What “players” means here
On this wiki, the Players category is your roster hub — the human (and very tired) workforce Kobayashi-Schwarz dropped with the Magpie. You are not drafting a PvP team; you are keeping a mining outpost staffed while Corp quotas and Rebel temptations pull in opposite directions.
Key systems that touch colonists:
- Loyalty — trending score driven by room quality, temperature, food, rest, pollution, light, passions, and work conditions (Violent Frontier cornerstone).
- Needs & schedules — sleep, recreation-ish downtime, eating Soylent, staying out of heavy rain when possible.
- Rooms — enclosed spaces with floors, roofs, doors, furniture, and climate devices that actually change the loyalty math.
- Drafting — flipping workers into fighters for raids; overuse destroys loyalty even if you win.
- Roles — miners, haulers, builders, shooters, and specialists unlocked as the factory grows.
Management priorities by phase
Landing week
Shelter beats aesthetics. Enclose a dorm, place beds, get Mr. Soylent stocked via the Soylent Maker, and keep the Steam Engine feeding lights and climate gear. Follow the early builds list so people are not sleeping in Hotdry wind while you sculpt a lobby.
First raids
Create a small night watch subset instead of drafting the entire roster. Park them behind sandbags from the defense priority guide. Let crafters stay on belts — automation fails when everyone is on the wall.
Stable factory
Specialize. Passionate builders on construction, careful haulers on Lucrum export, and a rotating guard. Watch pollution and temperature as the plant expands — heaters, ACs, and Power Outlets are colonist tools as much as factory tools (power and food grid).
Corp vs Rebel tension
Loyalty is political. Pushing hard Corp quotas without living standards breeds Rebel sympathy; cozy rooms with missed Lucrum deadlines breed Corp wrath. Balance both using Corp vs Rebel.
Hub map
- Loyalty, temperature, rooms, and schedules — modifiers, seasons, and practical room recipes.
- Cross-read defense raids for draft discipline.
- Cross-read mining Lucrum for who should stay on the solvent-sensitive miner.
- Patch history: Violent Frontier introduced the loyalty/weather/combat bundle; Final Frontier tied food and power into daily survival.
Quick checklist
- Everyone has a bed inside a roofed, doorable room.
- Soylent production exceeds headcount with a small buffer.
- Hotdry cooling and cold-snap heating are powered, not decorative.
- Night draft list is short and pre-assigned to cover.
- Passions match jobs where possible — loyalty loves meaningful work.
- Rain shifts prefer indoor tasks when forecasts look ugly.
- Corpses and junk are cleared (or Soylent-recycled) so the yard does not become a mood sink.
Colonists are the only machine that argues back. Treat loyalty as a production resource equal to Lucrum ore, and the rest of the wiki’s factory advice actually sticks.
Frequently Asked Questions
Quick answers for Sirius B3 prospectors.
What causes loyalty to drop fastest?
Bad temperature, empty food, awful rooms, constant drafting, pollution, and forcing people into jobs they hate. Fix climate and Soylent before buying nicer chairs.
Do I need a schedule system early?
A simple day-work / night-sleep split with a small guard rotation is enough at first. Refine shifts once headcount grows and seasons punish outdoor labor.
How many colonists should I draft each raid?
As few as can hold the sandbag line. Mass drafts win one night and lose the week when everyone is exhausted and disloyal.
Where do I read about room temperature specifically?
See the Loyalty & Needs guide on this hub, and Power & Food Grid for heaters, AC, and outlet wiring.